
Leveling a concrete floor used to mean hiring a specialist — and paying specialist prices. With screed tripods and a 4D laser level, a DIY homeowner can achieve a perfectly flat subfloor on their own and save over 75% compared to hiring a pro. Here is the complete step-by-step process.
What You Will Need
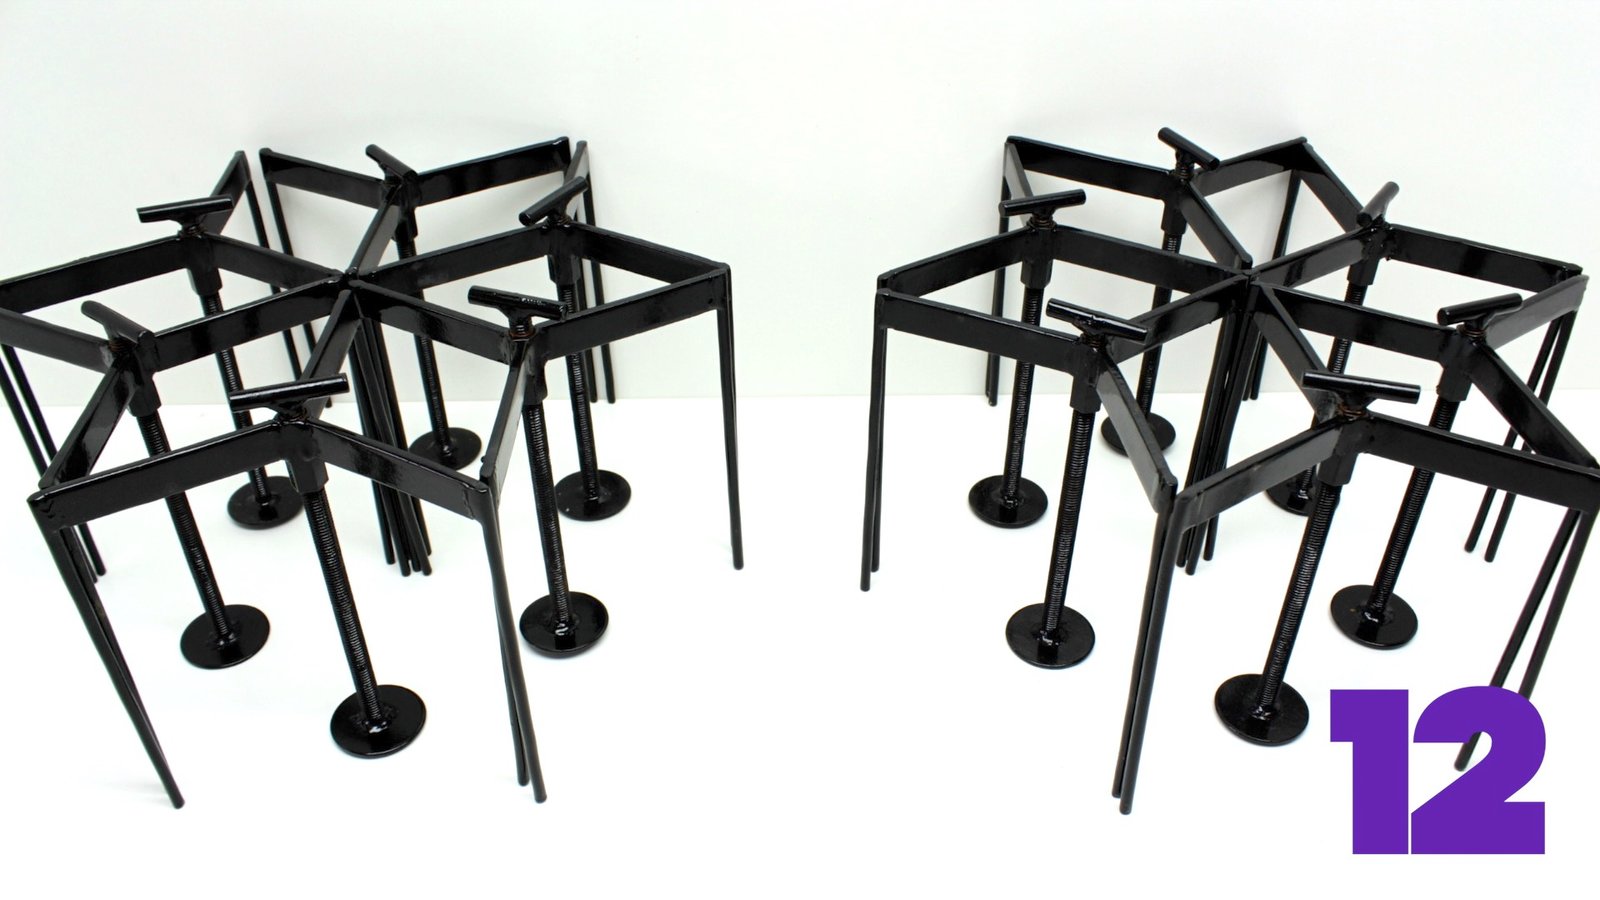
- A screed tripod kit: the 6-tripod kit suits small rooms and bathrooms, while the 12-tripod kit covers larger areas (it also includes a free spiked roller and spiked shoes).
- A 4D laser level to establish a dead-level reference line across the room.
- Self-leveling compound or floor screed mix, plus a mixing paddle and drill.
- A gauge rake or spreader, and a straight edge for screeding.
Step 1 – Prepare the Subfloor
Start with a clean, sound surface. Sweep and vacuum the concrete, scrape off old adhesive or paint, and repair cracks and holes. The surface should be dry and free of dust and grease so the new material bonds properly. If the manufacturer of your compound recommends a primer, apply it now and let it dry fully before moving on.
Step 2 – Set Out the Tripods
Place the tripods in an even grid across the room. Each tripod has an adjustable height screw: the tops of all the tripods together define the finished level of your floor. Set them out before you mix anything, and double-check that none of them rock or sit on debris — a stable tripod is an accurate tripod.
Step 3 – Establish the Level with a Laser
Set up your 4D laser level in the center of the room so its horizontal line reaches every tripod. Adjust each tripod’s height screw until the laser line hits the same reference mark on every unit. Take your time here — this step determines how flat the finished floor will be. Walk the room and re-check each tripod from two angles before you pour.
Step 4 – Pour and Screed the Mix
Mix your compound according to the manufacturer’s instructions and pour it between the tripods, working from the far corner of the room toward the door. Rest a straight edge on the tripod tops and screed the mix to a uniform height — the tripods act as precise, immovable guides. Put on the spiked shoes and go over the surface with the spiked roller to release trapped air and smooth the finish.
Step 5 – Let It Cure and Check Your Work
Allow the floor to cure for the time specified on the product packaging before walking on it or laying flooring. Once cured, check the surface with a long straight edge or your laser level: you should see a consistently flat floor with no dips or ridges, ready for tile, laminate, vinyl, or epoxy.
Why DIYers Choose Tripods
Screed tripods require no special training, are made from oxidation-resistant materials for multiple uses, and ship free within Canada and the USA. Most importantly, doing it yourself costs a fraction of hiring a flooring specialist — a saving of over 75% on a typical room.
Order your tripod kit today and level your floor like a pro.